Community spotlight: John Kim Murphy & SvelteKit


John Kim Murphy’s projects needed an authentication solution that offered an easy onramp for his users and a great developer experience for himself. He found both at Userfront. So when John saw SvelteKit developers needing help to get user authentication into their projects, he contributed an example to that community using Userfront. John ported our React and Vue examples over to SvelteKit, published a tutorial, and shared his work on GitHub. Here, we share John’s thoughts about Userfront along with an overview of his examples and source code.
About John Kim Murphy
John is a frontend developer and mentor with expertise in web technologies, including Svelte. He puts Userfront to good use when building his hobby projects. A top UX priority is giving users the ability to explore an app without having to create an account first. A top DX priority is the ability to transition users to a full account when they see the value in doing so.
In John’s words
We asked John why he chose to port Userfront React and Vue examples to SvelteKit. What were the driving factors that led to the work, or what problems was he solving?
I wanted to add user authentication to some of my own personal hobby projects. It is possible to build a personal information/task/bookmark manager by saving data locally (cookies/localStorage), but adding user authentication makes the app more useful.
I was very interested in anonymous/guest accounts because I wanted it to be possible to immediately start using my app without creating an account. Later if the user wants to save their data in a more permanent manner they can upgrade their guest account to a full account.
I think this is better UX. Also almost every “Show HN” post has complaints about having to create an account before being able to even try out the app. So I think there might be interest in a library that makes it easy for your users to start using your app without an account (then upgrade to a full account later.)
I had decided to use Userfront for auth. There were examples/documentation for React and Vue, but none for Svelte(Kit). So I figured it out on my own. I decided to share my learning with the SvelteKit community.
Why John chose Userfront
John plans to integrate Userfront into his own SvelteKit projects, starting with Multi-Launch at Leftium. The app currently stores a small amount of data in a cookie. John considers it “straightforward to add Userfront auth and store this data in Userfront’s user.data.” John puts Userfront to good use, crediting:
- A generous free tier—that recently Userfront more than doubled
- Clear Documentation—for implementing user authentication with quick links to additional resources
- Great developer experience—dedicated to ease of use and time-saving capabilities
Adding authentication to Svelte using Userfront
John wrote a tutorial to walk through a Userfront Svelte auth example. In it, he demonstrates how to implement authentication and access control in a SvelteKit application using the Userfront authentication service.
He was able to do a pretty straightforward port of the React and Vue examples, because React, Vue, and Svelte are all modern JavaScript-based frameworks with isomorphic routing—sharing routing logic and URL structure between client and server—that can leverage Userfront’s token-based auth. In these frameworks, the high-level programmatic flow is the same:
- Send a request to Userfront to obtain a JWT access token.
- Add the token to subsequent requests to the server.
- Protect routes and endpoints based on user authentication status.
Sounds simple, but we’re grateful that John provides Svelte-specific code in GitHub and step-by-step instructions with his Userfront Svelte auth example.
To begin, John installs Userfront and his Userfront Svelte example code:
npm install -D @userfront/toolkit userfront-svelte --save
John uses a local development environment file to pass in the Userfront Account ID and the Base64-encoded public key. Then, in his Svelte layout file, he initializes Userfront:
import { PUBLIC_USERFRONT_ACCOUNT_ID } from '$env/static/public';
import Userfront from '@userfront/toolkit/web-components';
Userfront.init(PUBLIC_USERFRONT_ACCOUNT_ID);
In the navigation menu, he lists all of the routed pages, which have the following permissions logic:

He adds the signup form as a Home page element:
<signup-form />
The signup and login forms are Userfront workflows to get a JWT access token. Userfront automatically generates and stores the JWT token. The developer then sends that token with any subsequent requests to the server.
John provides both client-side and server-side parsing functions to break down the fields of the token cookie and verify it. He uses a server hook to get verification:
event.locals.auth = await verifyToken(
PUBLIC_USERFRONT_PUBLIC_KEY_BASE64,
userfrontTokens?.accessToken
);
John prevents the Dashboard page from being accessed by adding a guard to the dashboard route's +page.server: a verified token gives access, otherwise, back to Login.
Finally, John goes through the code to authenticate through an API. Here, the developer can set up and access fine-grained authorization rules for pages and components, such as roles-based access.
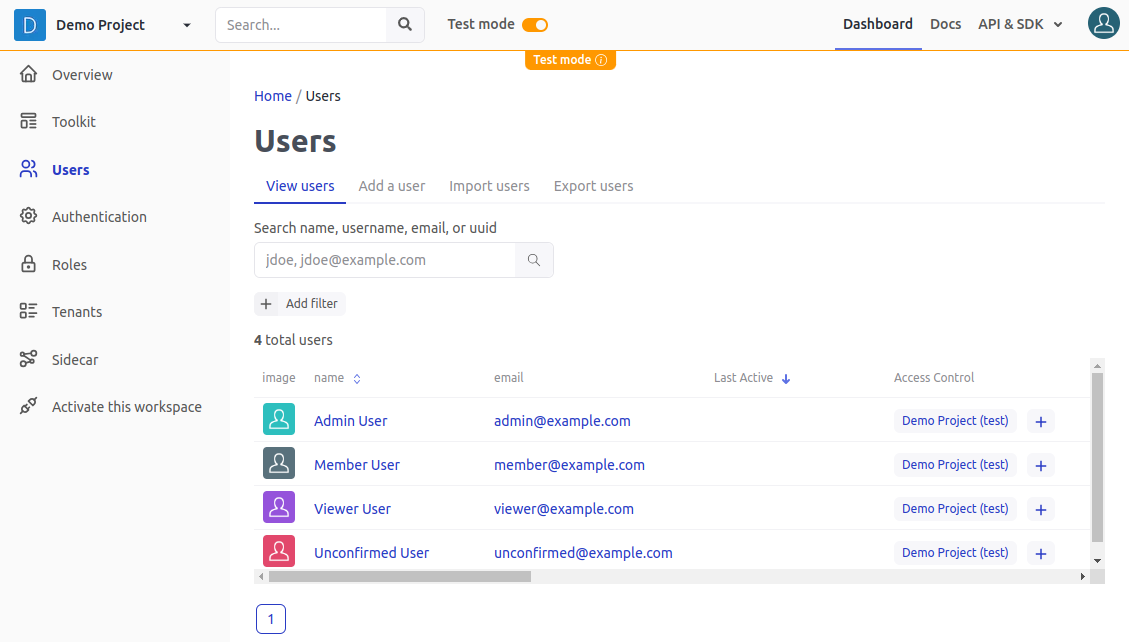
An example of that great developer experience John mentioned? Userfront adds the form to your Userfront dashboard in "Test mode" by default. User records show up here when you create them in test mode. This means you already have a way to validate your test environment before your app goes live.

Next steps
After you’ve checked out John’s tutorial Userfront Svelte auth example…
- Keep up to date with Userfront, including these community spotlights, by following us on Twitter & LinkedIn.
- Have you written about Userfront? Published a blog post or shared a code example lately? Let us know and we may feature you in an upcoming community spotlight.
Related