React auth example
Additional resources
In this example, we will add authentication and access control to a React application.
We use Create React App for setup, along with React Router for client-side routing.
#React authentication
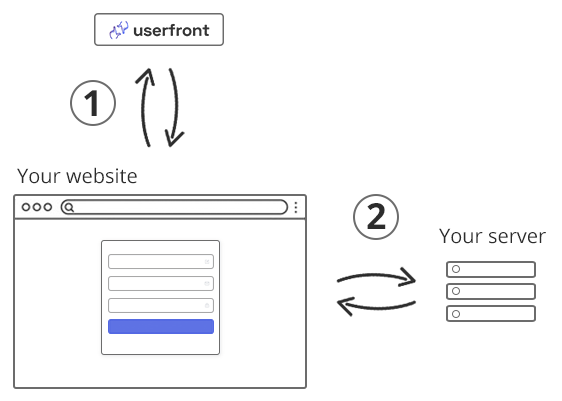
At a high level, React's responsibility in authentication is to:
-
Send an initial request to Userfront to get the JWT access token. This is what the signup and login forms do.
-
Send the JWT access token to your server with each subsequent request.
#Set up Create React App
To get React up and running, start by installing Create React App and React Router
Now our React application is available at http://localhost:3000
We can now edit the src/App.js file to start working.

#Routing
We'll set up a small app with routing. This is all we need to start adding authentication.
| Route | Description |
|---|---|
/ | Home page |
/login | Login page |
/reset | Password reset page |
/dashboard | User dashboard, for logged in users only |
Replace the contents of src/App.js with the following, based on the React Router quickstart:
With our routes in place, we are ready to add authentication.
#Signup, login, and password reset
We'll start by adding a signup form to the home page.
Locate the instructions for installing your signup form on the UI Toolkit page.
Keep your UI Toolkit open in another browser tab for later when we add the login form & password reset form
Follow the instructions by installing the Userfront React package with:
To add the signup form to your home page, import and initialize the Userfront UI Toolkit for React, then update the Home() function to render the form.
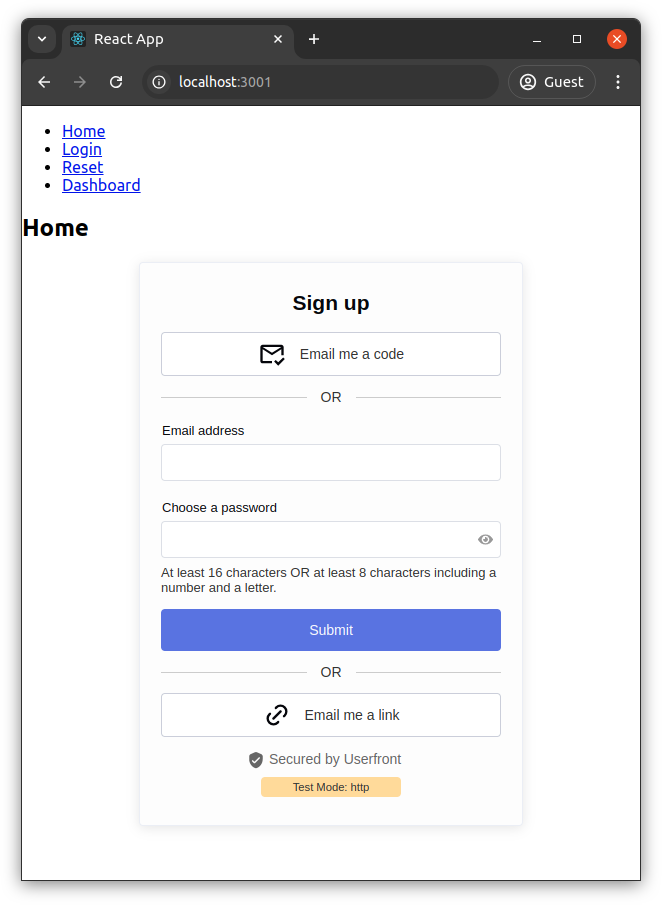
Now the home page has your signup form. Try signing up a user.
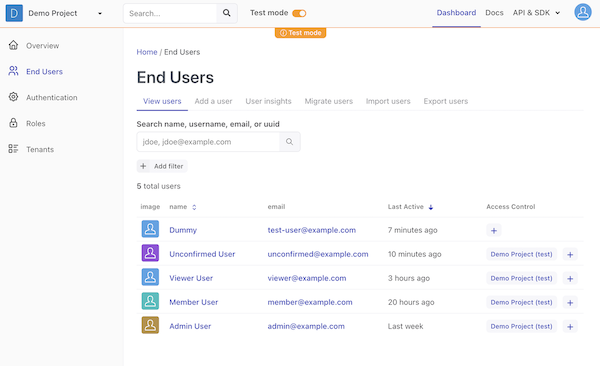
#Test mode
The form is in "Test mode" by default, which will create user records in a test environment you can view separately in your Userfront dashboard.
We'll continue by adding your login and password reset forms in the same way that you added your signup form. To allow a user to log out, we can call the built-in Userfront.logout method.
Make the following updates in src/App.js:
- Update the
Login()method to return the login form. - Update the
PasswordReset()method to return the password reset form. - Update the
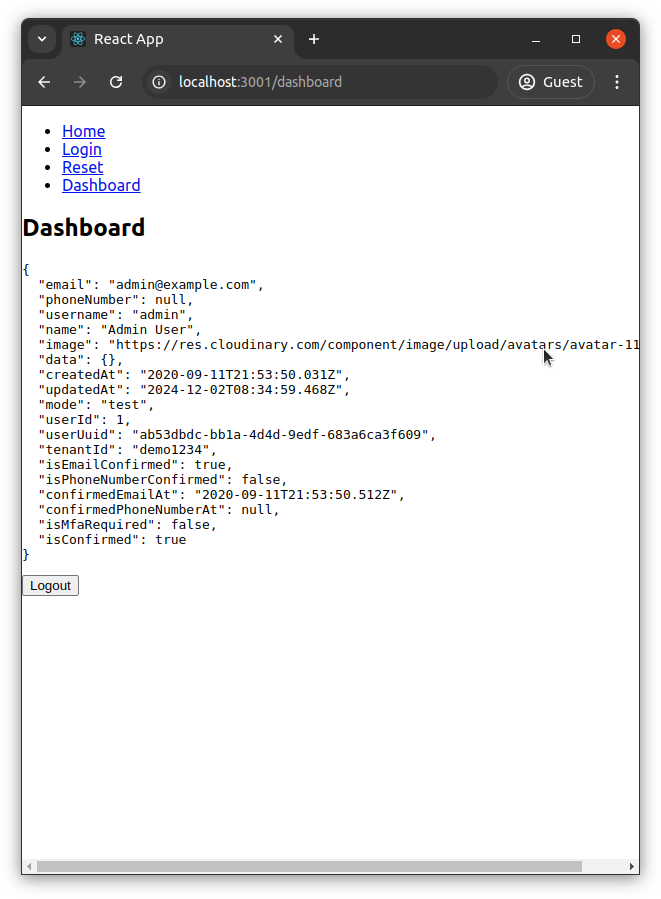
Dashboard()method to display the user's data and a logout button.
At this point, your signup, login, and password reset should all be functional. Note that the login form on the /login page will automatically redirect to /dashboard if you are logged in.
Your users can now sign up, log in, log out, and reset their password.
#Protected route in React
We don't want users to be able to view the dashboard unless they are logged in. This is known as protecting a route.
Whenever a user is not logged in but tries to visit /dashboard, we can redirect them to the login screen.
We can accomplish this by wrapping the <DefaultLayout /> component in a <RequireAuth> component that checks to see if the user is logged in. When a user is logged in, their access token is available as Userfront.tokens.accessToken, so we check for this.
The RequireAuth component uses Navigate and useLocation from React Router to redirect the browser if no access token is present.
Now, when a user is logged in, they can view the dashboard. If the user is not logged in, they will be redirected to the login page.
We now have a web application with signup, login, logout, password reset, and a protected route.
#React authentication with an API
We saw above that the frontend has an access token available as Userfront.tokens.accessToken when the user is logged in. This is a JWT access token that you can also use on your backend to protect your API endpoints.
There are many libraries to read and verify JWTs across various languages. The list to the right contains some popular libraries for handling JWTs.
Your React application can send the JWT access token as a Bearer token inside the Authorization header. For example:
To handle a request like this, your backend should read the JWT access token from the Authorization header and verify that it is valid using the JWT public key found in your Userfront dashboard.
Here is an example of Node.js middleware to read and verify the JWT access token:
Using this approach, any invalid or missing tokens are rejected by your server. You can also reference the contents of the token later in the route handlers using the req.auth object:
With this information, you can perform further checks as desired, or use the userId or userUuid to look up information related to the user.
For example, if you wanted to limit a route to admin users, you could check against the authorization object from the verified access token:
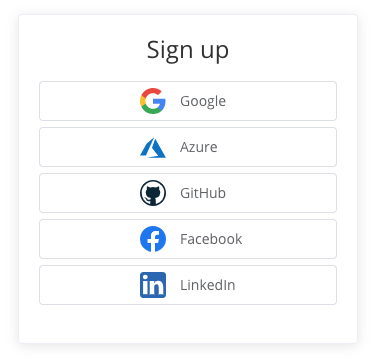
#React SSO (Single Sign On)
From here, you can add social identity providers like Google, Facebook, and LinkedIn to your React application, or business identity providers like Azure AD, Office365, and more.
To do this, create an application with the identity provider (e.g. Google), and then add those SSO credentials to the Userfront dashboard. The result is a modified sign on experience.
No additional code is needed to implement Single Sign On using this approach: you can add and remove providers without updating your forms or the way you handle JWT access tokens.